7 Common Orchid Care Mistakes: Tips from Someone who's Made them for you

Did you know that three quarters of first-time orchid owners lose their plants within 6 months? I hate to admit it, but I was once part of that statistic! My first few orchids didn't even make it to the three-month mark, and I remember the heartbreak of watching those gorgeous blooms fade away, followed by yellowing leaves and mushy brown roots. But here's the good news – after years of learning from my mistakes (and believe me, I've made them all), I've discovered that orchids aren't nearly as finicky as their reputation suggests.
The truth is, most orchid care issues stem from a handful of common mistakes that are completely fixable. Whether you're nursing your first orchid or trying to revive one that's seen better days, understanding these crucial care mistakes will transform your orchid growing journey.
Trust me, if I could turn my orchid disasters into success stories, so can you! Let's dive into the most common pitfalls I see (and have experienced firsthand) and learn exactly how to avoid them.
Overwatering: The Silent Orchid Killer
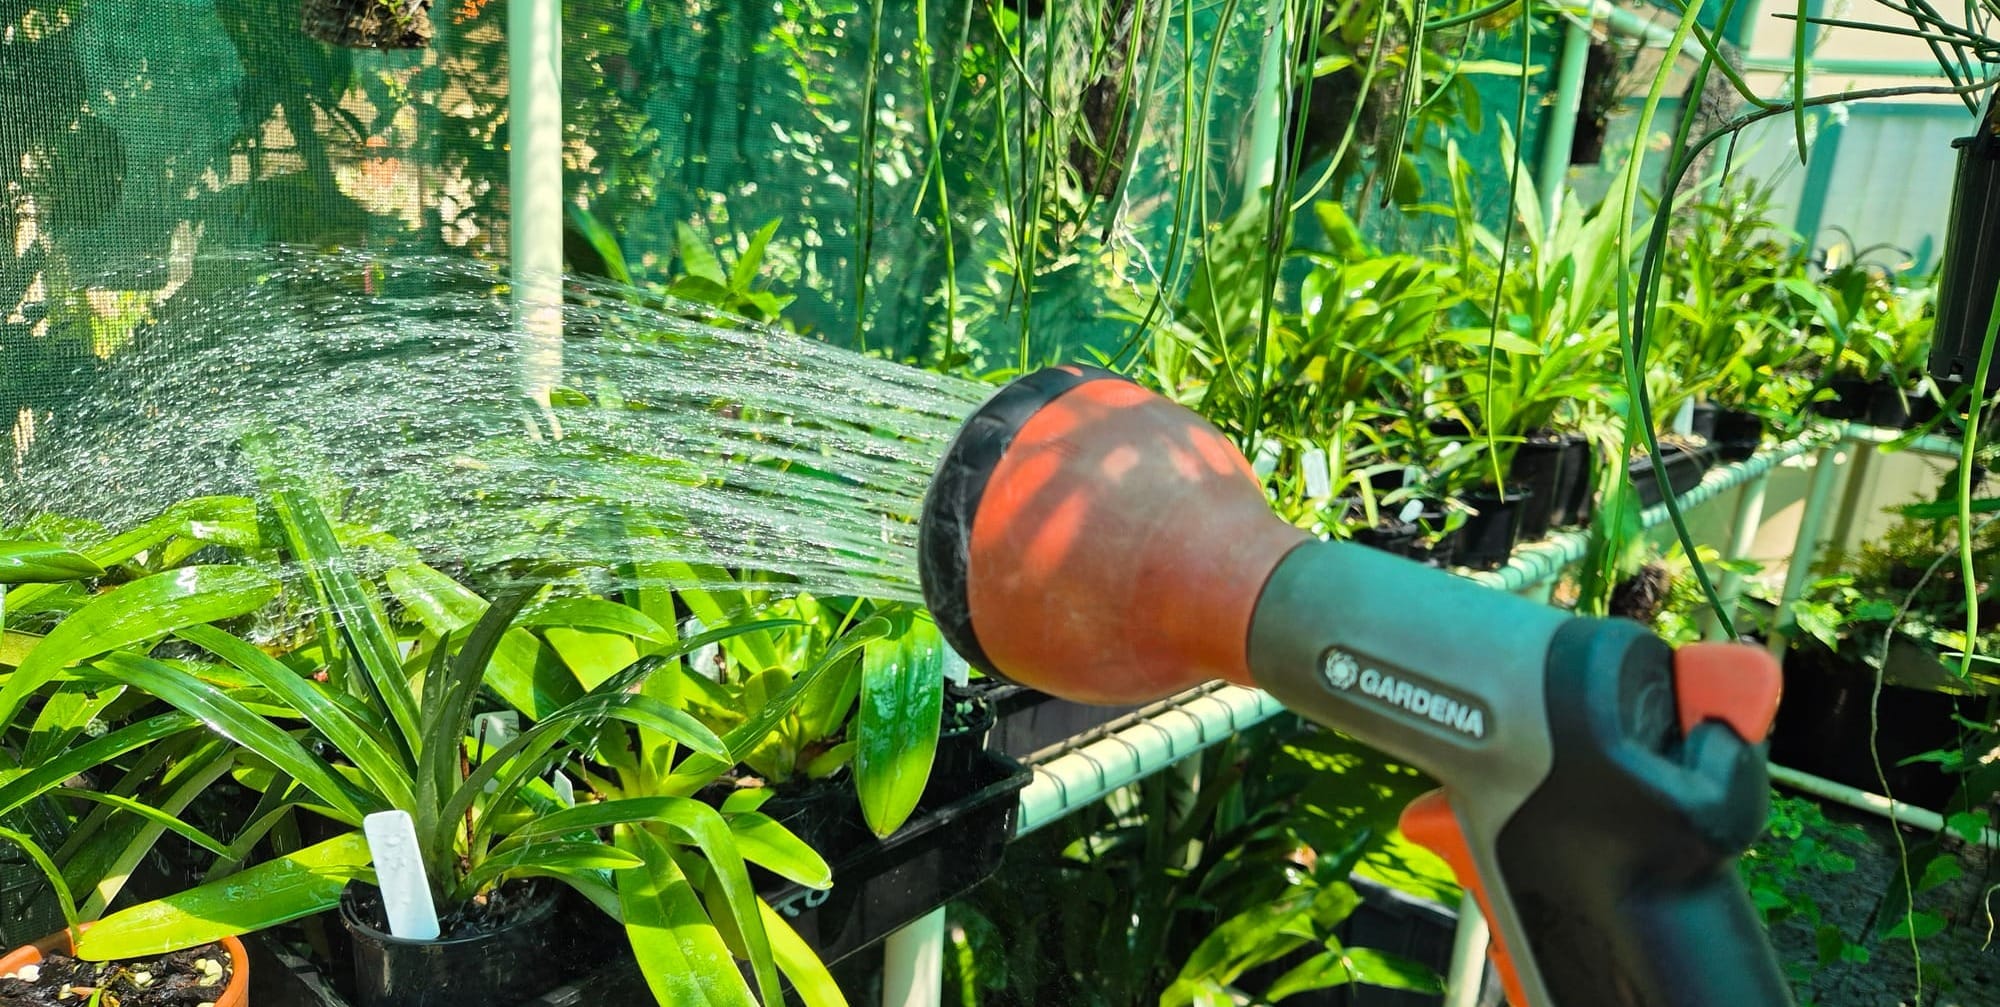
Let's tackle the number one reason orchids fail to thrive: overwatering. As epiphytes that naturally grow attached to trees or in some cases rocks in tropical environments, orchids have evolved to absorb moisture from the air and rain, then dry out between waterings. In our well-meaning attempts to nurture these beautiful plants, we often shower them with too much love in the form of excess water.
The key to proper orchid watering lies in understanding their natural growth patterns. In the wild, orchid roots are exposed to air and receive intermittent rainfall, never sitting in constantly wet conditions. When we grow them at home, we need to recreate these conditions carefully.
The most reliable way to determine if your orchid needs water is to lift the pot - if it feels light, it's time to water. If it still feels heavy, wait a few more days. The other way is to gently insert your pinkie finger into the pot down to the second joint. If it still feels damp then again wait a day or two before watering.

Root rot, the most common result of overwatering, begins when roots are deprived of oxygen due to constantly wet conditions. Healthy orchid roots should be firm and silvery-green when dry, turning bright green when wet. If you notice black, mushy roots or a rotting smell, you're dealing with root rot. Immediately trim away affected areas with sterilized tools and reduce watering frequency. I also find that you can save plants sometimes if you repot into fresh moist (not wet spagnum moss.
Light Exposure Errors That Stunt Growth
Many orchid enthusiasts don't realize that light exposure can make or break their success. While orchids are often labeled as low-light plants, most varieties actually need bright, indirect light to thrive. The key is finding that sweet spot between too much and too little light.
Think of orchid leaves as natural light meters. They should be a vibrant medium green to lime green color - not dark green (indicating too little light) or yellowish (suggesting too much light). One of the ways I was taught to help see if your light levels are spot on is if you place your hand about 6 inches/15 centimetres above the leaves during midday, you should see a faint shadow with soft edges. This simple test can help you determine if your orchid is receiving adequate light.
If you are growing outside an aspect that collects morning sun but is sheltered from direct midday and afternoon sun is best, particularly in summer. Under a northern facing pergola or hanging in a deciduous tree are both good places to test out.
If growing plants indoors, east-facing windows often provide ideal lighting conditions for most common orchid varieties. These locations offer bright morning sun and gentler afternoon light. If you only have access to northern or western exposures, protect your orchid with shadecloth to diffuse intense direct sunlight. For Southern (in the southern hemisphere) windows, consider supplementing with artificial grow lights, especially during shorter winter days.
Temperature and Humidity Mismanagement
Orchids are more tolerant of temperature fluctuations than many people realize, but they do have specific preferences that affect their growth and blooming.
Cymbidiums for example can take temperatures tight down to 1-2°C (just above freezing) provided they are kept a little drier and up to 40°C +, provided they are well watered and shaded.
Phalaenopsis or Moth Orchids on the other hand, thrive in the same temperatures that we enjoy (one of the reasons they are so popular houseplants) and are a little more picky meaning anything below about 15°C overnight and they may suffer.
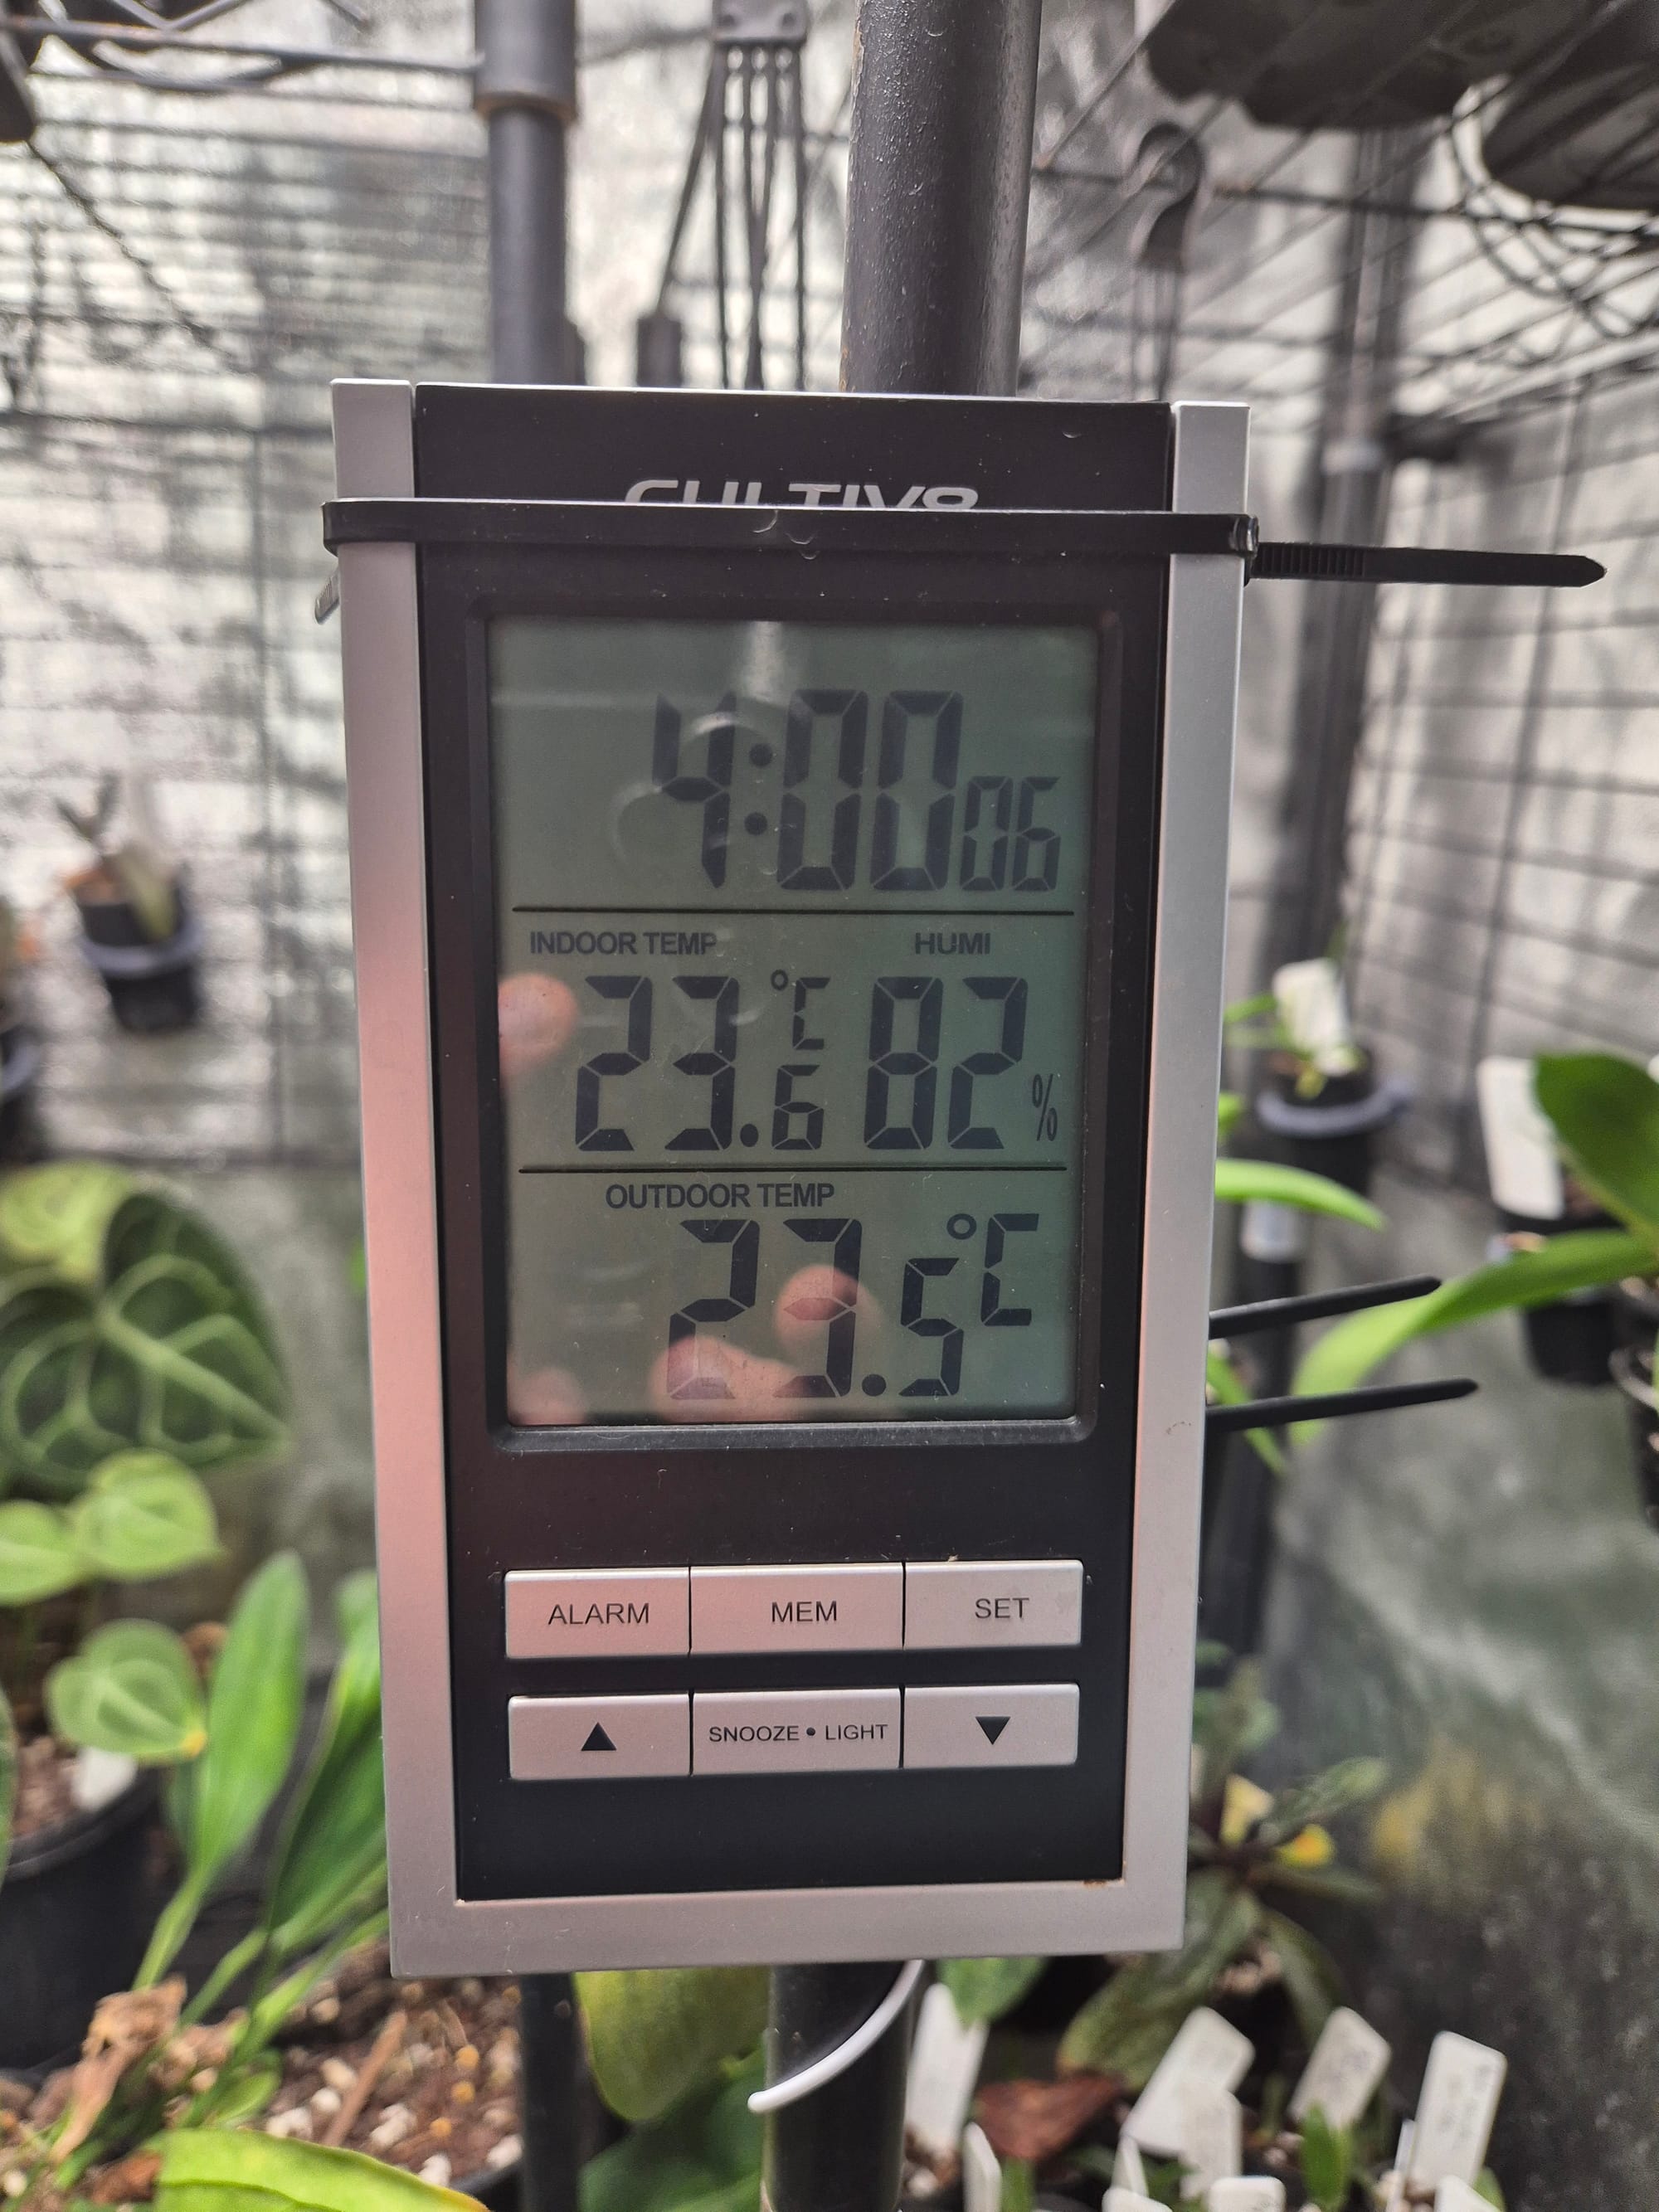
Humidity, however, is where many indoor orchid growers struggle. While our homes typically have humidity levels around 30-40%, most orchids prefer 50-70% humidity. Low humidity can cause buds to blast (drop before opening) and leaves to wrinkle. Create a microclimate around your orchid by placing it on a humidity tray filled with pebbles and water, keeping the pot above the water level. For collections of orchids, consider using a small humidifier.
The biggest temperature-related mistake is exposing orchids to drafts. Keep plants away from air conditioning vents, heating registers, and drafty windows. Even brief exposure to cold drafts can cause bud drop and leaf damage.

Special Tip: One of the easiest ways to keep track of your temperature and humidity is with a cheap meter from Amazon or eBay. Getting one that tracks maximums and minimums will help you learn even more about your growing environment.
Potting Medium and Repotting Mishaps
One of the most critical aspects of orchid care is using the right potting medium and knowing when and how to repot. Traditional potting soil is the kiss of death for most orchids - it retains too much moisture and doesn't provide the air circulation orchid roots need to thrive. Instead, use a specialised orchid mix that typically contains bark, perlite, and sometimes sphagnum moss or charcoal.
The lifespan of orchid potting media is typically 1-2 years, after which it begins to break down and compress, leading to root problems. Signs that it's time to repot include:
- Decomposing potting medium that looks like coffee grounds
- Roots growing out of drainage holes or a majority of the plant growing outside of its pot.
- Medium that stays wet for more than a week after watering
When repotting, always use fresh media and sterilised tools. The best time to repot is after blooming, when new root growth begins generally in early to mid spring. Gently remove all old medium and trim any dead, hollow, or mushy roots before replanting in a clean pot that's just slightly larger than the root system.
Special Tip: If you buy a Phalaenopsis orchid from the super market consider repotting it as soon as the flowers fade. The potting mix used by commercial growers for these plants often leads to rot in the home environment.
Fertilisation Failures and Nutrient Deficiencies
Think of fertilising orchids like serving them a balanced meal - too little leads to weak growth, while too much can burn roots and inhibit blooming. The old adage "weekly, weakly" perfectly describes proper orchid fertilization. Use a balanced fertilizer with roughly equal parts Nitrogen, Potassium and Phosphorous diluted to half or even quarter strength every week during the growing season.
You will occasionally see discussion about using different fertilisers at differedn growth phases i.e during growth and flowering. While this can slightly improve each of these phase, to keep it simple i prefer to use a single balanced fertiliser year round to avoid confusion and shocking the plant. That said, during winter rest periods (generally winter), you can reduce or eliminate fertilising altogether.
Common signs of nutrient deficiencies include:
- Yellowing older leaves (nitrogen or magnesium deficiency)
- Dark green leaves with poor blooming (too much nitrogen, but can also be insufficient light)
- Purple-tinted leaves (phosphorus deficiency, but can also be excess light in some species)
- Weak stems and poor root growth (calcium deficiency)
Improper Air Circulation
Many orchid growers overlook the importance of air movement, yet it's crucial for preventing fungal and bacterial problems. In nature, orchids experience constant gentle air movement around their roots and leaves. This air flow helps prevent fungal growth, aids in temperature regulation, and strengthens stems.
If growing inside or in an enclosed structure like a greenhouse set up a small fan near your orchids to create gentle air movement - leaves should flutter slightly in the breeze. Aim for consistent air circulation during the day, with reduced movement at night. This mimics natural conditions and helps prevent water from sitting on leaves and in crown areas where it could lead to rot.

Good air circulation becomes even more critical when growing multiple orchids together. Space plants far enough apart to allow air to move freely between them, and consider using oscillating fans for larger collections. This probably one of my major problems (too many orchids not enough space) and I have lost many an expensive plant by trying to shove too many into to smaller space.
Blooming Care Blunders
The ultimate goal for almost all of us orchid growers is to achieve repeated blooming, yet this is where many enthusiasts struggle. Understanding your orchid's natural blooming cycle is crucial. Most common orchids, like Phalaenopsis, Cymbidium or Paphiopedilum, bloom once or twice a year, with flowers lasting 2-3 months.
After blooming, many growers make the mistake of cutting off the entire flower spike. For Phalaenopsis orchids, if the spike remains green, cut it just above a node (visible as a slight thickening in the stem). This can trigger a secondary bloom spike. However, if the spike turns yellow or brown, cut it at the base.
Temperature plays a crucial role in initiating bloom cycles. Many orchids need a temperature drop of 8-10°C (10-15°F) at night for several weeks to trigger blooming. Without this temperature differential, plants may grow healthy but never flower.

Growing orchids doesn't have to be a challenge! By avoiding these common care mistakes and implementing the right solutions, you can enjoy these exotic beauties in your home year after year. Remember, every orchid grower started somewhere, and learning from these mistakes is part of the journey. Ready to give your orchids the care they deserve? Start by addressing any of these issues you've noticed, and watch your plants transform into the stunning specimens they're meant to be!

Member discussion